Wednesday, November 2, 2016

All Saints Anina Belt Construction :: River Song Cosplay

When I decided to recreate River's look from 'The Day of The Moon', I spent a few hours researching the original pieces used during the show. Most of them were from a store in the UK called AllSaints and they were also all discontinued...yayyyyyy! (HASHTAG SARCASM) So I went to eBay to try and track them down, and only managed to find the All Saints Zeeda dress that Alex Kingston wore (and there was much squealing and rejoicing and happy tears when I finally won that dress auction!!)...but no dice on the boots (All Saints Criollo) and the belt, the All Saints Anina.


She also wore the Anina belt in 'The Pandorica Opens'


After a few months of fruitlessly stalking eBay, I figured it wouldn't be too hard to replicate, and I had always wanted to try my hand at leatherworking, so I jumped right in!

After some research, I found that the original belt is about 3 3/4 inches wide. I decided to round up to an even 4 inches and ordered a 4 inch Leather Belt Blank from an eBay seller named landco317. It came super fast and I would totally recommend him if you are looking to purchase leather for this project. It was $30 with free shipping and came super fast!

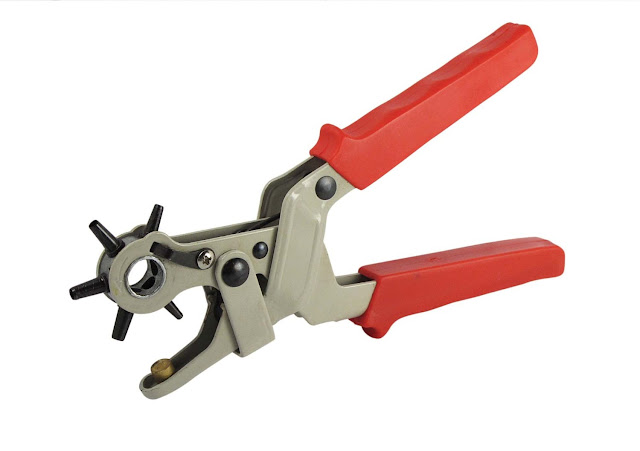
I also purchased a leather punch...
https://www.amazon.com/SE-7924LP-Heavy-Duty-Leather-Punch/dp/B000NK5VY2

and proceeded to mark out the hole patterns on the belt blank. I marked the holes vertically in 3/4 inch intervals. I found this diagram (I don't remember where??) that is helpful for the more visual learners...


I then proceeded to punch LIKE 349527 HOLES IN THIS BELT UNTIL MY HAND WAS LITERALLY ABOUT TO DIE. LIT. ER. ALL. Y. ABOUT. TO. DIE. I wasn't able to punch the middle rows of holes with my punch so I drilled those with my dremel tool. If you have a drill press, this project will go 1000x better and more quickly!

note to self...buy a drill press...

ANYWAY. After the holes were all punched I ended up with thisssss...


I then went to Hobby Lobby and bought a bottle of Fiebings Leather Dye in 'Dark Brown', because it was the darker of the two colors they had in stock and I wasn't really sure what to expect. 


So I applied a few coats with a wool dauber...


...and was SO EXCITED ABOUT THE COLOR...


...UNTIL IT DRIED...

wat the poop.

So note to self...this stuff dries a lot lighter than expected...

MOVING ALONG

I consulted the swatch guide on Fiebing's website and ordered a bottle of dye in Chocolate and tried again. After one coat I had this...


and after four coats it was looking MUY BETTER (sorry for the potato quality on this picture..it was late, I was out of Dr Pepper, and hence too lazy to go get my camera)


After that had dried completely (this stuff dries SUPER FAST. It is AWESOME!) I applied a thin coat of resolene with a regular kitchen sponge (diluted 1:1 with water) and let that dry completely. It is NECESSARY to apply resolene or the dye will rub off on your clothes and skin...and ain't nobody want that.


The final touch was putting in the button studs used to fasten the belt. I bought these in 'bronze' and they worked perfectly.


After that I ended up with this!


And some action shots!


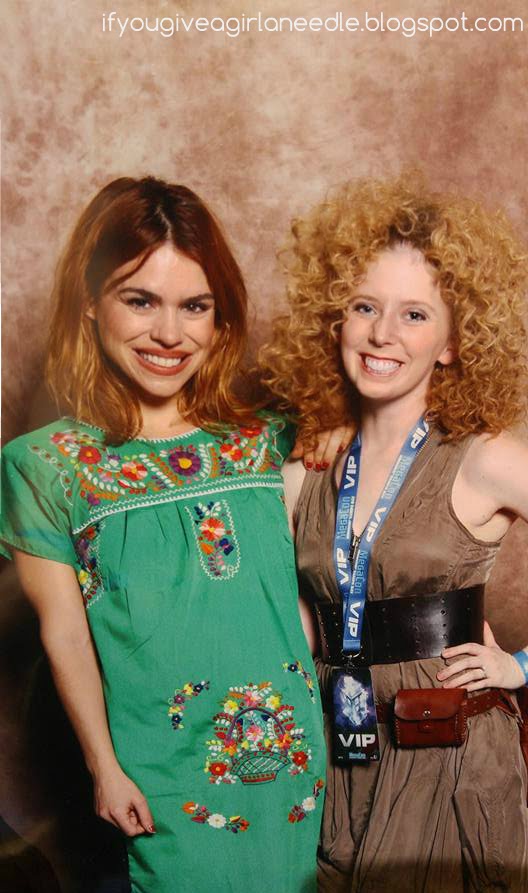
I got lots of compliments on it at MegaCon Tampa and was super pleased with how it turned out! Let me know if you try this for yourself, I'd love to see others!


Check out the other posts in my River Song Cosplay Series!

-River Song Wig Tutorial-
-All Saints Anina Belt Re-Creation (you're here!)-
-River's Gun Belt & Holster-
-Completed River Song Cosplay at MegaCon Tampa-

Tuesday, November 1, 2016

MegaCon Tampa Bay 2016 :: River Song Cosplay

So this past weekend I had the extreme pleasure to attend my first Con; MegaCon Tampa Bay! And what a FANTASTIC experience it was! I am not sure what I expected out of the convention scene, considering I had never been to one before, but I was completely blown away. The atmosphere was amazing...everyone I ran into and spoke to was so friendly and I honestly felt like I had known these people my whole life. I met so many AWESOME people; cosplayers, vendors, and regular convention goers.... AND DID I MENTION DAVID TENNANT AND BILLIE PIPER??


AHHHHHHHHHHHHHHHHHHH!! The fact that I didn't pee my pants and/or pass out is a straight up miracle. I walked in and David said, 'Well look at you, you're a perfect River!'

*cue fangirl screaming*


AND ROSEEE!! Billie Piper was another person I never thought I would ever get to meet but I did!!
*cue more fangirl screaming*

After the photo ops, Billie Piper had a panel by herself, and at the end of the day Billie and David did a panel together which was so fantastic seeing them on the same stage together.

At Billie's panel...


...and the David/Billie Panel...AREN'T THEY PERFECT!?


Apart from the panels, I had a fantastic time wandering around the vendor and artist area, which was mind blowing! There were an INSANE number of booths chock full of ridiculously talented merchants and artists. I wanted to buy ALL THE THINGS! I had so much fun meeting and posing with other cosplayers and discussing the nitty gritty details of costuming and the like. So many people stopped and asked to take pictures with me (which, I was honestly surprised and quite flattered over, because there were some incredible cosplayers there) and the number one question I got asked was whether my hair was real or not, which almost made me cry because I spent FOREVER trying to get my wig just right (you can find the tutorial post on styling my River wig here!)

This was the first picture I took of the day (hence the not super great pose, lol), and this chick was AWESOME as Ten!


Ran into myself (haaaaaaa) and loved this girl...I wish I had gotten her name! I freaked out over her phone because I thought it was just a prop but then realized she had made a phone case to look like River's communicator and I was fangirling so hard over it! Genius!


Also met Harrison of Lonely God Cosplay! Fantastic Ten!


Will Friedle and Mitch Pileggi were there signing autographs, too!!


There was this flippin' awesome TARDIS transformer...


An AWESOME Cassandra by Old Fat Cosplay!


And the other amazing Cassandra!


Did I mention that there were ALL THE PEOPLE there?? It was packed! This was just the line to get into the line for one of the panels.


CON SWAG! And Chili's, cause I was HONGRY.


I'm going to be posting how I made the different components of this cosplay in the nest week or so, so keep an eye out!

-River Song Wig Tutorial-
-All Saints Anina Belt Re-Creation-
-River's Gun Belt & Holster-


***ALSO! I've had a few people tag me on Instagram in a few Con pictures (like this one from gbalda)...I would LOVE to see your pictures! Link me! :D

Wednesday, October 19, 2016

Ice Cream Themed Birthday Party :: Two Year Old Girl

I love planning birthday parties. I love the theme choosing and the decoration crafting and the food making and the invitation designing...all of it. I JUST LOVE IT.

So when my daughter's second birthday was approaching I lost my mind a wee bit and went all out on the Ice Cream Shop theme! I chose this for two reasons; 

(1) I had scored a HUGE amount of ice cream party decor on Michael's clearance a few weeks earlier...cupcake liners, cupcake picks, napkins, adorable wooden spoons, paper lanterns, etc. I got a humongo bag full for less than $10 and figured I probably needed to put it to good use! 
(2) I saw this cake by Sweet Little Morsels on Pinterest and decided I NEEDED TO MAKE IT.

As with all my projects and endeavors, I start out with the most difficult part of the thing and if I accomplish that first, its usually smooth sailing from there. I knew I wanted to practice the cake before the big day, so I eugoogled some tutorials (this one is super!) and muddled my way through. (And I'm sorry in advance, for I failed to take any pictures of this part...IM THE WORST, I KNOW...so just bear with me.)
For the ice cream cone topper,  I packed some Rice Krispy Treat into my ice cream scoop, and turned it out onto some wax paper.
Then I melted some pink Candy Melts and completely covered the Rice Krispy 'ball'.
While that was drying, I cut a wooden skewer in half and poked it into the RK at the angle I wanted the cone to sit at. This is to give the cone a little more stability.
After that, I dipped a sugar cone into the Candy Melts, coating the edge nice and thickly, and stuck it onto the RK, over the skewer, and held it firmly together until the candy melt set up a little bit.
I then popped it into the refrigerator to firm up completely.

For the actual cake, I just used a box mix I had on hand, and used the AWESOME paper towel method for smoothing out buttercream frosting. It makes your icing SUPAH SMOOTH without having to use fondant. After that, I put the cake in the refrigerator as well to chill a bit before putting on the topper.

After everything was nice and chilly and the cone topper was plopped on the top, I made a white chocolate ganache that I colored the same pink as the Candy Melts I had used to form my 'melted ice cream scoop'  I tried the get the pinks as similar as I could. I then covered the ice cream and the top of the cake with the ganache, and VERY CAREFULLY added the drips to the edges. To finish, I topped it off with sprinkles! SPRINKLLESS!!!!!!


I was pretty happy with how it turned out, but I knew I wanted the actual cake to be taller and skinnier, and the drips a little more 'drippy'. So I used a smaller diameter cake pan, made three layers, and thinned out my ganache.


In hindsight, I probably should have added some skewers to the cake to stop it from being kinda lean-y, but it stayed up alright for the most part so I was pleased.

I also made some cupcakes with the leftover batter and icing, and proceeded to decorate ALL THE THINGS in the house.


I snapped this with my potato cell phone camera the night before (it was like 3 am when I finished because I'm OCD about decorations)

Also, as a forewarning, all of these pictures are going to have super wonky exposure because I thought it would be a good idea to put the party table in front of our french doors that receive ALL THE DIRECT SUNLIGHT in the afternoon. So...just...I'm sorry about that. I DON'T ALWAYS PLAN WELL OKAY.


SPRINKLESSSSSSSSSSSSSSSSS!!!!


All in all, I was really pleased with how the cake turned out, and my daughter LOVED it! I got the chipboard glitter '2' either from Target or Michaels...I can't remember which...and the cake stand I found at the thrift store and spray painted a white/gold ombre.


The straws were from Target and the jewel-tone punch cups I found at Hobby Lobby on sale for $0.40 apiece!! YAS BUY ALL THE CUPS YASSS!


The spoons were part of my Michael's clearance haul, and the paper cups were found in the Target dollar bins. OH TARGET DOLLAR BINS HOW I LOVE THEE.


I also made some giant ice cream cones out of tissue paper and spray painted party hats! Super easy!


The door hanger I made out of some leftover deco mesh I had and a piece of scrapbook paper for the cone.


And a few pictures of the birthday girl...I found her dress at Target on a clearance rack and LOVED it so much! It was actually a shirt for an older girl but I took up the straps and the bottom hem and made it a dress! The headband I found at Dollar Tree and I made a little clay ice cream cone to go on top. BECAUSE THEMES.


Daddy helping blow the candles out!


We love ice cream...


Y'all. I have the best mom in the whole world. She drove 10 hours to be at my child's birthday party <3


All in all, it was a wonderful, fantastic day! I'm so grateful to have such lovely people to share it with!

Related Posts Plugin for WordPress, Blogger...