Friday, April 19, 2013

Poison Ivy Cosplay

I recently posted a progress picture of my Poison Ivy cosplay that I was working on, and I have wonderful and not so wonderful news!

The Wonderful : I finished and I LOVE IT.

The Not-So-Wonderful: The convention I was going to wear it to got canceled. Which, quite honestly, I don't blame them. The convention in question was Boston Comic Con, and most of you probably know the horrific bombing that took place earlier this week, which cause most of the city and surrounding area to be shut down.

So I have this costume, and nowhere to wear it...what's a girl to do? 

PUT IT ON AND WEAR IT ANYWAY.


 I decided to make the bodysuit in two pieces; one because I didn't want to have to wriggle out of it every time I went to the bathroom, and two because I didn't want my whole backside hanging out of some thong-like contraption. SO I opted for a not so high cut leg and a more covered tookus :)


I am going to finish my husband's costume tomorrow and show hi-...I mean it off in my next post :)

Wednesday, April 17, 2013

50¢ Shirt Re-do!

  Rummage sales are basically crack to me. I'm not even ashamed of it. No ma'am. I love them because you can get clothes for basically nothing. As in, 'cheaper than the thrift store' nothing. YES PLEASE!? So the local Methodist church down the street had a rummage sale last Saturday, and my husband (who is the best sport in the world, ohmygoodness) and me toodled down there to check it out. While I didn't get much in terms of quantity, I totally scored in this gem of a...shirt thingy! It was super big, but lots of times, the super big stuff gives you the most room and freedom to experiment with! And it was in excellent condition. And it was shiny. And bright. And essentially everything that is glorious in a shirt. AND 50¢! So done and done. 


It was a skeesh big, likeIsaid, but definitely workable! And it made me looks like I had no arms, apparently. Because I stand weird. ANYWHO. I think what I liked most is that all the little details were still there...like the stones weren't dangling off like you see a lot of at the thrift store. 


I added lots of darts, took in the sides, and hemmed the sleeves and bottom hem.. I also added little slits to the sides to make it more...more...I just like slits. :D

AFTER.
Seriously you guys, I don't know how to pose in pictures, ever. I end up looking like a do-do head.


All I have left is to fray-check the bageebies out of the seams (this fabric shreds like cray cray) and I'll be done! Tell me what you think!

AND. I also got these crazy weird coolio shoes! AND THEY MATCH PERFECTLY. AND POMPOMS.


Sunday, April 14, 2013

Pinterest Testing :: Cleaning Stove Burner Pans with Ammonia!


I'm one of those people who, if they hear about something, and want to try it, they want to make sure it works before they try it. Ergo, raid the interwebz and see if other people have tried it before me and whether or not it worked for them. This was one of those things, and I'm happy to say, it worked fabulously!


My stove drip pans were looking a wee bit dismal of recent and it was really getting next to me. Like. Really.  Well, it was mainly the big-daddy drip pan that I use the most often, and I had scrubbed and scrubbed and SCRUBBED AND SCRUBBED FOREVER AND A LOT AND NO MORE and had barely even made a dent in getting the lovely baked on...whatever it is...off.  It was then that the lovely invention that is Pinterest dropped this awesome post by the V Spot across my feed. It was super simple and to the point! 

1. Put your grimey nastay pans in a gallon ziploc bag with a splash of ammonia

2. Let sit.

3. Take them out the next day and scrub them good!


 The hardest part for me was letting them sit overnight. I don't wait good. At all. 


Andddd the lovely 'after'! I will definitely be doing this again!


Shiny, captain!

Monday, April 1, 2013

DIY Flower Pressing/Drying in the Microwave :: Tutorial!


I am somewhat of a sentimental hoarder. I can't stand throwing away anything anyone (especially my husband) has given me, even if it is in total disrepair, or, in this case, crusty dead flowers. I love flowers. So much. My husband is like the super handsome master of flower giving. He brings me flowers semi regularly and I almost can't stand to throw them away even after they are dead, which is why I started drying mine and saving them. I've tried several different things, (hanging them up, putting them in a book and setting the couch on it for several days, etc) and you can buy a flower press, but this (imo) is faster, and basically free if you have plates and a microwave! Yay!

You Shalt Need:
: (2) Two microwave safe plates
: A microwave safe microwave
: Some sort of weight (I used a giant glass measuring cup)
: A piece of flat cotton fabric
: Scissors
: Flowers to dry!

Andddd let's go!


1. Grab your flowers. These are a week and some change old. Its easier to dry not already crusty dead flowers, and you get a prettier color when you dry them before they wilt. We like pretty, right!?


2. Pick out your lucky candidates. I try and get the really brightly-colored ones of the bunch because...again...we like pretty, right!?


3. OFF WITH THEIR HEADS. Erm. I like to cut most of the stems off, but you can just as easily leave them, if you'd like! It just helps me to handle them like this.


4. Take one of your plates, and lay your piece of fabric on it like so.


5. Then, arrange your flowers on the fabric. Arrange the petals like you like them and gently flatten them a bit with your hand.


6. Fold your cloth over...


7. ...and top with your other plate. It helps to use two identical plates, or two plates that stack flush with one another. 


8. Place your heavy object on top of your plate/cloth/flower sandwich. This just helps to press the flowers flat. I use this measuring cup because it is heavy as well as microwave safe. Don't use anything metal to weight the plates down...your microwave will throw a tantrum!! And maybe explode. O.O


9. Push down a bit to flatten everything out if it isn't already.


10. Pop everything into the microwave!


11. I set mine for two minutes, and its worked out well for most flowers. You might have to adjust depending on what flowers you use and microwave power strength, etc.

12. Do the microwave waiting dance!


13. When its done, CAREFULLY CAUSE IT BE HOT AND JUNK, remove your stack from the microwave and open it up! You now have dried flowers! I've found they retain their color lots better this way than other stuff I've tried.

NOTE: See how the cloth is kinda damp? That was a boo boo on my part...I had just washed my plates and they were still kinda wet going into the microwave (curse you, impatient brain!). DON'T DO THIS. Its not catastrophic, but it makes your flowers wet instead of dry. Double check to make sure your plates are bone dry before you do this. I just left these flowers in the sun a while to un-damp them :)


And there you go! The possibilities on this are really endless! It took me a few tries to figure out how to position the flowers and microwave times, and so forth, but after that, its not so hard! Here are a few of my most recents :


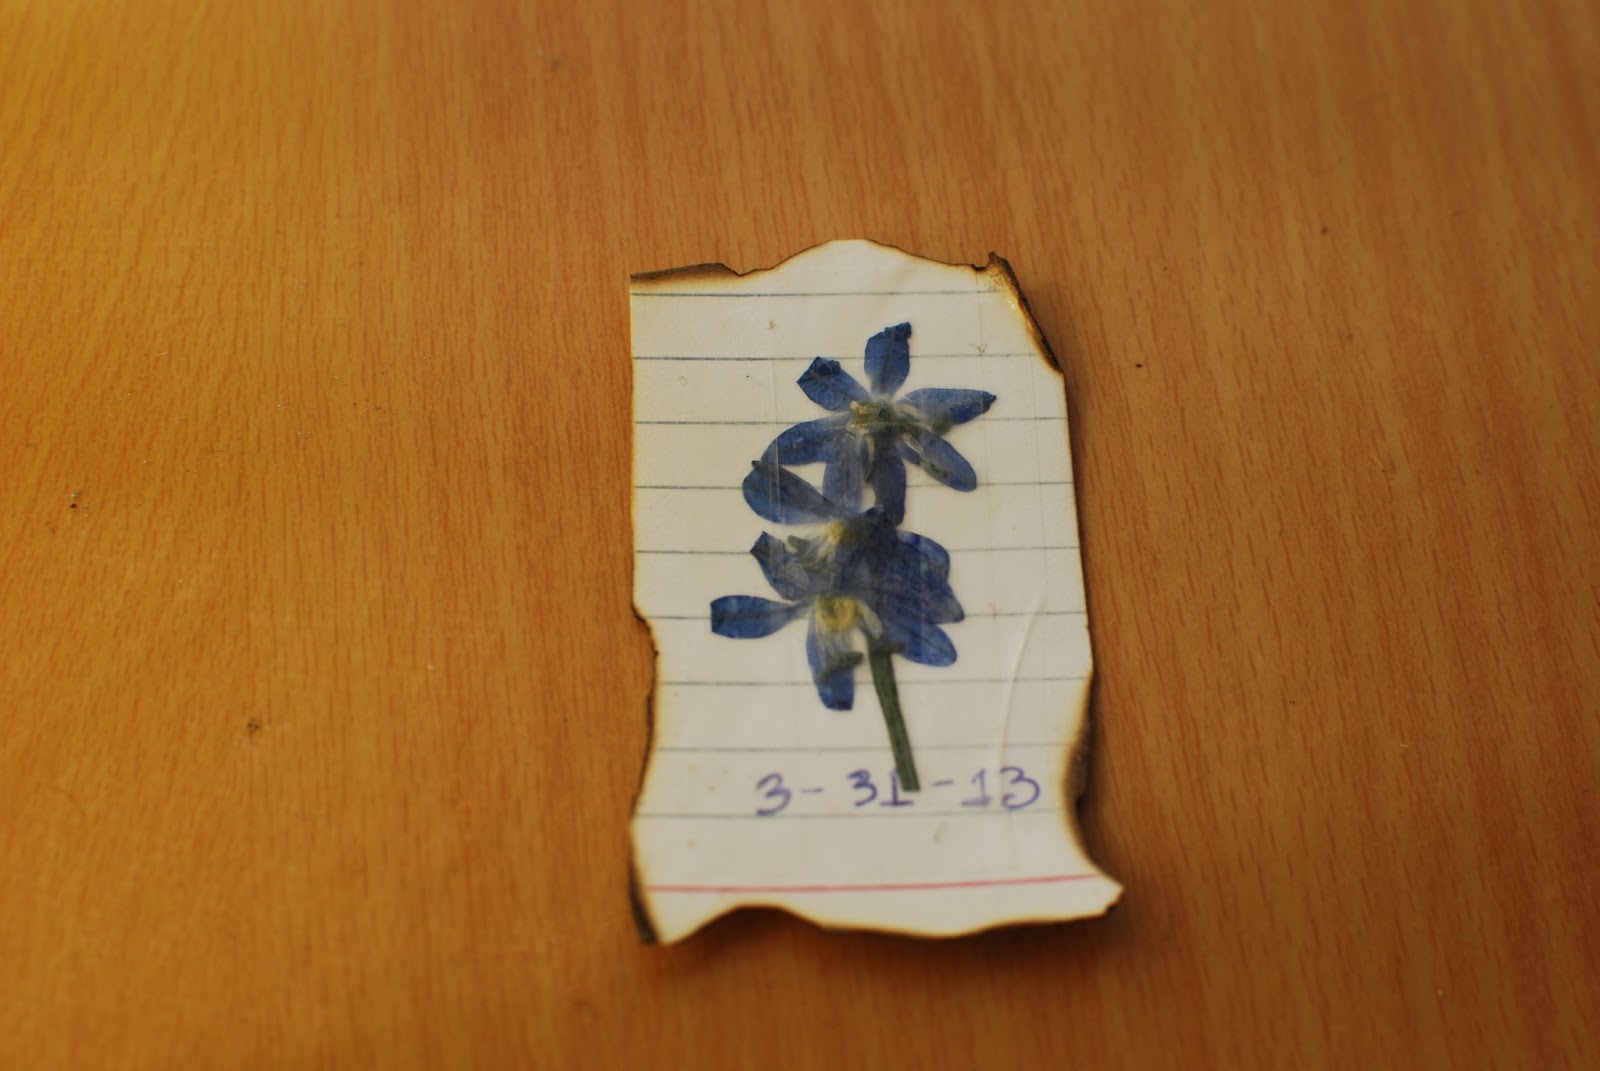
I like to tape mine to pretty paper and label them with the date or a note about when/where/why I got them. I keep them in a box with my other sentimentals.


Try it! It would be great for wedding flowers, corsages, or just because!

Much love!
Related Posts Plugin for WordPress, Blogger...